Key Takeaways:
- Cleaning ceiling fan blades regularly can help reduce dust circulation and support better indoor air quality.
- Mess happens when homeowners clean without preparation or use the wrong tools.
- A step-by-step approach helps to contain the ceiling fan dust buildup and prevents extra cleanup.
- Using the right tools, such as an extendable duster and microfibre cloths, makes the process safer and neater.
- A structured cleaning support can help simplify upkeep if you are experiencing difficulties with ceiling height or dust sensitivity.
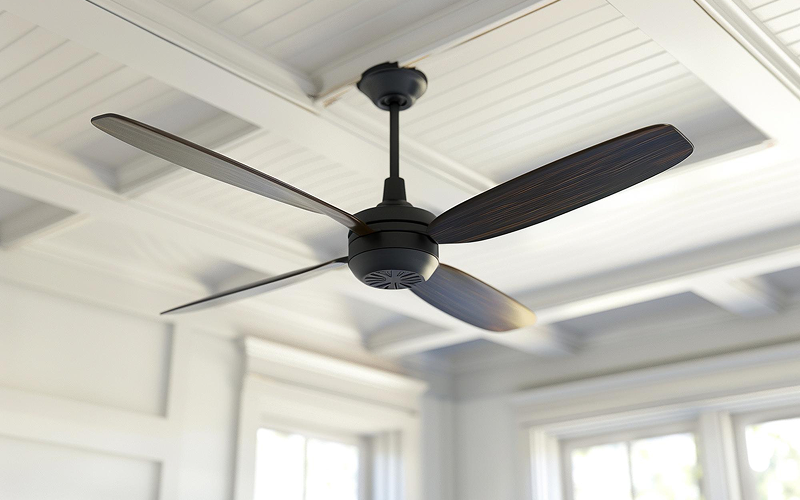
Is Your Ceiling Fan Clean?
Ceiling fans play an important role in keeping Singapore homes comfortable, especially in warm and humid conditions. Over time, dust and airborne particles accumulate on the blades and motor housing, reducing efficiency and circulating allergens.
Many homeowners approach cleaning ceiling fan blades with good intentions but poor preparation. This often leads to dust raining onto furniture, floors, and beds, turning a simple task into a full-room cleanup.
Cleaning ceiling fan surfaces does not have to create a mess when done methodically. This guide explains how to clean effectively, common mistakes to avoid, and when it is safe to switch the fan back on.
Why Ceiling Fan Cleaning Often Goes Wrong
There are multiple common pitfalls that homeowners fall into when cleaning their fan.
The most overlooked mistake is using dry cloths. This flicks dust into the air, which then disperses onto furniture. Switching the fan on before it is fully dry is also common. This slings water droplets all over the room, becoming a huge electrical hazard.
The amount of dust buildup is also easily underestimated, since dust particles cling stubbornly to surfaces due to Singapore’s humid environment.
Understanding these pain points helps prevent unnecessary mess and reduces exposure to allergens during cleaning.
Why Cleaning Ceiling Fans Matters and How Often to Do It
You might be wondering: Why do ceiling fans attract dust if they are constantly moving?
The spinning blades create static electricity and pressure differences that pull airborne particles to stick to the surface. In Singapore’s climate, moisture in the air causes dust to adhere more firmly to fan blades and housings. If left uncleaned, this build-up spreads debris across the room, worsens indoor air quality, and reduces airflow performance.
Most households benefit from cleaning ceiling fans every one to two months. Bedrooms, living rooms, and areas near open windows require more frequent attention. During renovation works or haze periods, dust accumulation tends to increase, and cleaning may be needed more regularly.
For Singaporean households managing regular upkeep across multiple rooms, a house cleaning service can help maintain ceiling fans alongside other high-touch and dust-prone areas.
Step 1: Prepare Properly Before You Start
Preparation is the most important factor in cleaning a ceiling fan safely without creating extra mess.
Before beginning, prepare the following items:
- A stable step stool or ladder suitable for your ceiling height
- A large sheet, towel, or disposable floor covering>
- Microfibre cloths, both dry and lightly dampened
- An extendable duster for a ceiling fan
- A vacuum cleaner with a soft brush attachment
Once your tools are ready, switch off the fan at the wall and wait until the blades stop completely. Place the sheet directly beneath the fan to catch falling dust. Ensure the ladder is positioned securely and never overreach while cleaning.
Step 2: Use Controlled Cleaning Techniques
Mess-free cleaning techniques focus on trapping dust rather than dispersing it.
- Start by gently running the extendable duster along the top of each blade. Move slowly to avoid shaking loose debris.
- Wipe each blade with a slightly damp microfibre cloth, working from the motor hub outward. This direction prevents dust from falling back onto cleaned areas.
- Use a vacuum with a brush attachment to clean blade edges and the motor housing. Keep the suction light to avoid pulling at components.
- If a cleaning solution is needed, spray it onto the cloth instead of directly onto the fan. This prevents dripping onto floors or walls.
These steps help contain dust and reduce airborne particles during cleaning.
Step 3: Drying Time and Safe Reuse
After cleaning, all fan surfaces must be fully dry before switching the fan back on.
If only a lightly damp cloth is used, allow 15 to 30 minutes in a well-ventilated room.
In cases where more moisture was involved, wait up to one hour.
Turning the fan on too soon can fling water droplets and remaining dust into the air, undoing your efforts and leaving marks on walls or ceilings.
It is always best to check for visible dampness before resuming use.
Precautions and What to Avoid
Avoid cleaning using vigorous motions, especially with dry cloths or feather dusters. This will inadvertently scatter dust instead of collecting it.
Never clean a fan while it is spinning, even at low speed. Avoid harsh chemicals that may damage finishes or leave residues. In most cases, a damp cloth may be enough for a thorough clean.
Standing directly beneath the fan without floor protection leads to additional cleaning work. If the fan is installed at an unusual height or shows signs of looseness, avoid DIY cleaning and consider engaging a professional cleaning service.
When Professional Support Makes More Sense
Cleaning fans can become time-consuming in larger homes or apartments with high ceilings. Households with allergy sensitivities or limited time may find it more practical to rely on structured cleaning support instead. An example would be hourly cleaning services in Singapore, which allow ceiling fan cleaning to be handled efficiently without committing to a full-day clean.
At G Journey, ceiling fan cleaning is integrated into a systematic residential care approach. Our trained team uses appropriate tools and controlled methods to manage dust safely and efficiently. If you prefer to leave this task to professionals, contact us to arrange a cleaning session that fits your home and schedule.